3lb Battlebot
October 2017 to April 2018
Design Process
I built this 3lb battlebot for the Robobears club at UC Berkeley. I participated at the International Robogames Competition in Pleasanton, California in April. The robot was largely designed and built by me. I received help with the machining and electronics from Denny Min, the president of the Robobears and general advice from members of the Combat Robotics community.
For the weapon, I decided on having two horizontal spinning bars. There were numerous constraints while designing the bot. One of the biggest challenges was staying under the three pound weight limit. In order to accomplish this, I researched various motors, materials and electronics. I used Autodesk Fusion 360 throughout this process and after numerous iterations, I finalized the design (shown below). I named my bot, "The Khila", which was my childhood videogame name.
Armor
-
6061 Aluminum Top/Bottom Plates (good balance of strength vs. weight)
-
HDPE Side/Back Plates (very lightweight)
Drivetrain
-
22 mm DC Gearmotors
-
Foam Wheels (Impact Resistant)
-
6061 Aluminum Drive Motor Mounts
Weapons
-
Steel Bars for the Weapons (Extremely Strong/Dense)
-
Two Brushless Drone Motors (Fast and Lightweight)
-
6061 Aluminum Weapon Motor Mounts
-
Hardened Steel Shafts
-
6061 Aluminum Pulleys
-
6061 Aluminum Set Screw Hubs
-
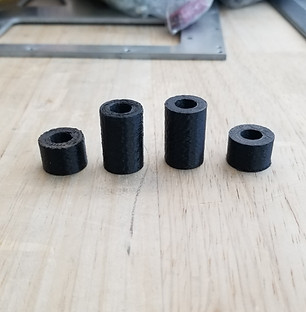
PLA Plastic Bushings (3D printed)
-
Rubber Belts
Machining/Assembly
After finishing the CAD Design and ordering the parts, I started machining the bot. Below, I have highlighted a few of the steps during machining and assembly.

I used the waterjet cutter at the UC Berkeley makerspace to cut the aluminum top/bottom plates (shown above), the drive/weapon motor mounts, and the HDPE side/bottom plates.

At the UC Berkeley makerspace, I 3D-printed four PLA plastic bushings using a commercial Type A 3D printer. The bushings are used to hold the steel bars at the correct height on the shafts.

I used a vertical bandsaw to cut the steel into horizontal bars. Then, I drilled a hole through the center of the pulley and the bar using a drill press. Next, I press-fitted a bearing through the center holes using a shop press. Finally, I drilled 4 small holes through the steel bar and the pulley at the same time.

After cutting the hardened steel shafts using a horizontal bandsaw, I assembled the finished parts. I used self-tapping plastite screws to screw into the HDPE plastic side/back plates.
Electronics
The picture to the left is the electrical diagram for my battlebot. I ordered the electronics from various vendors and then soldered them together.


Testing
First driving test of my battlebot in my college dorm

The Khila before Robogames
International Robogames Competition
Below, are the two match videos from Robogames.
My robot suffered two losses at Robogames. In both matches, my weapon belts immediately snapped or fell off the pulleys after the first impact. A few days before the competition, I had realized that the belts were slightly too loose, but I didn't have enough time to order new ones.
The first match was against a vertical drum spinner built by a Brazilian team. After losing the ability to use my weapons early on, I decided to stay in the match to see if I could push the smaller robot around. My robot took a couple huge hits and I decided to tap out so that I would be able to compete in the next round of the competition.
In the next round, I faced Sharky. In the first few seconds of the match, we took out each other's weapons. The round turned into a pushing match, with both robot attempting to display control to the judges. I managed to push Sharky into the corner and was probably set to win the match. Sadly, one of my drive motors randomly stopped working, which led to a loss.
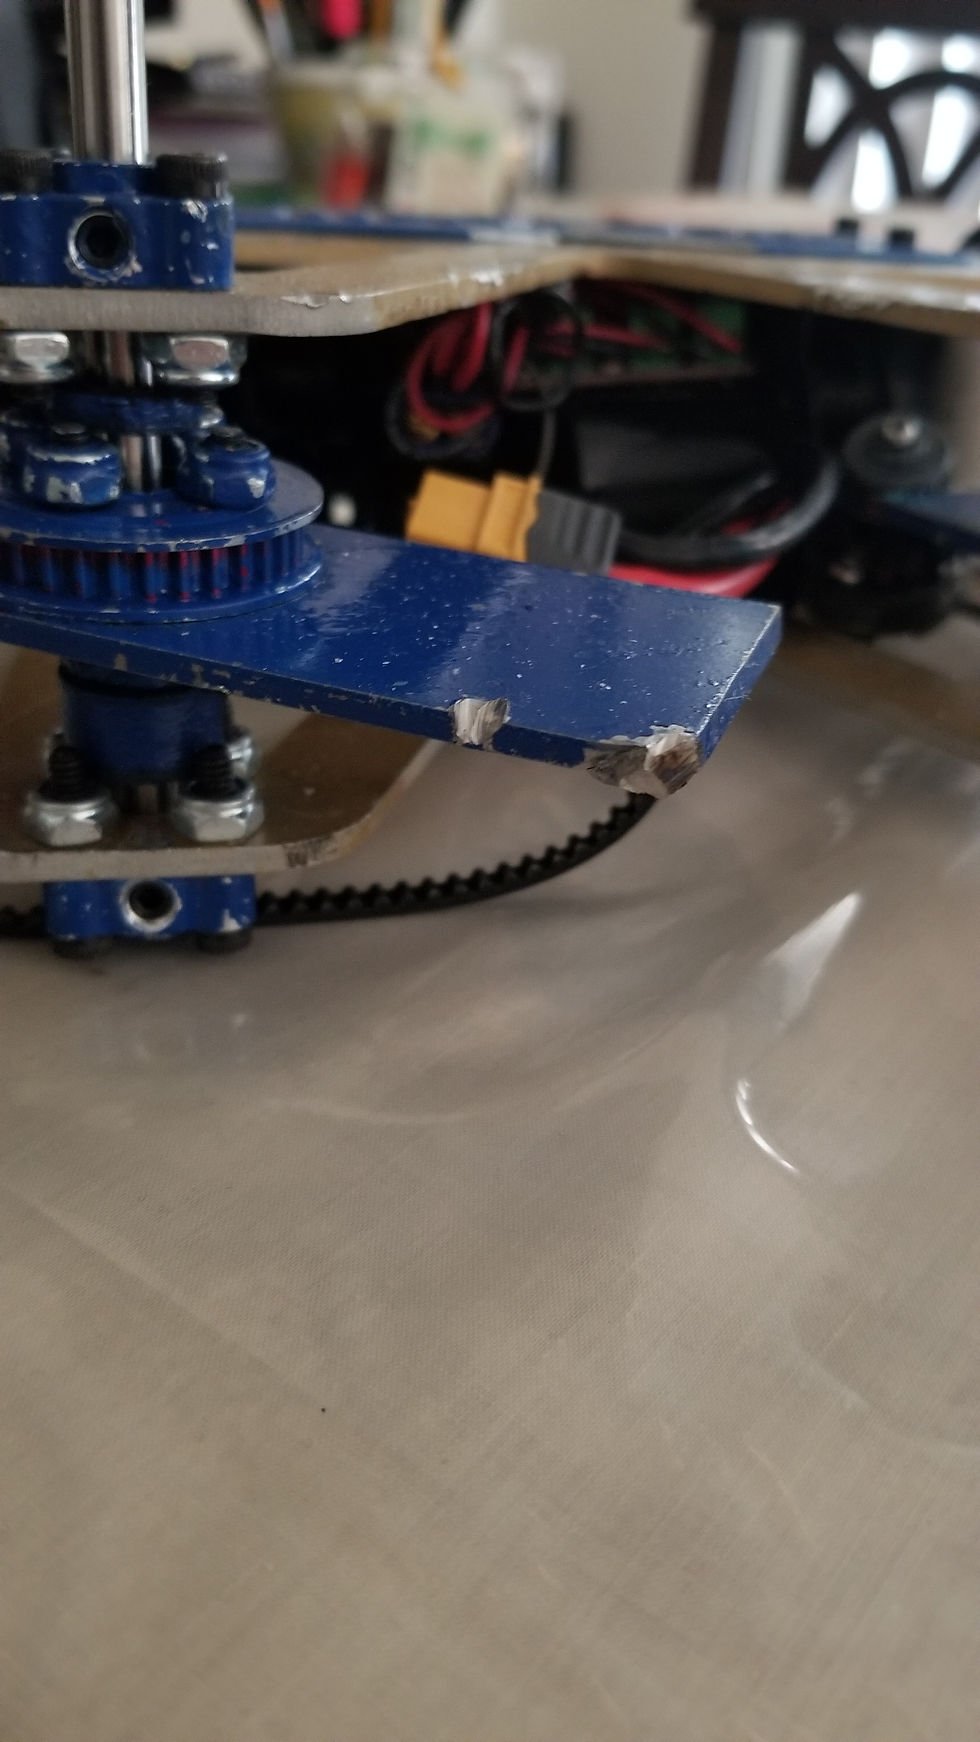
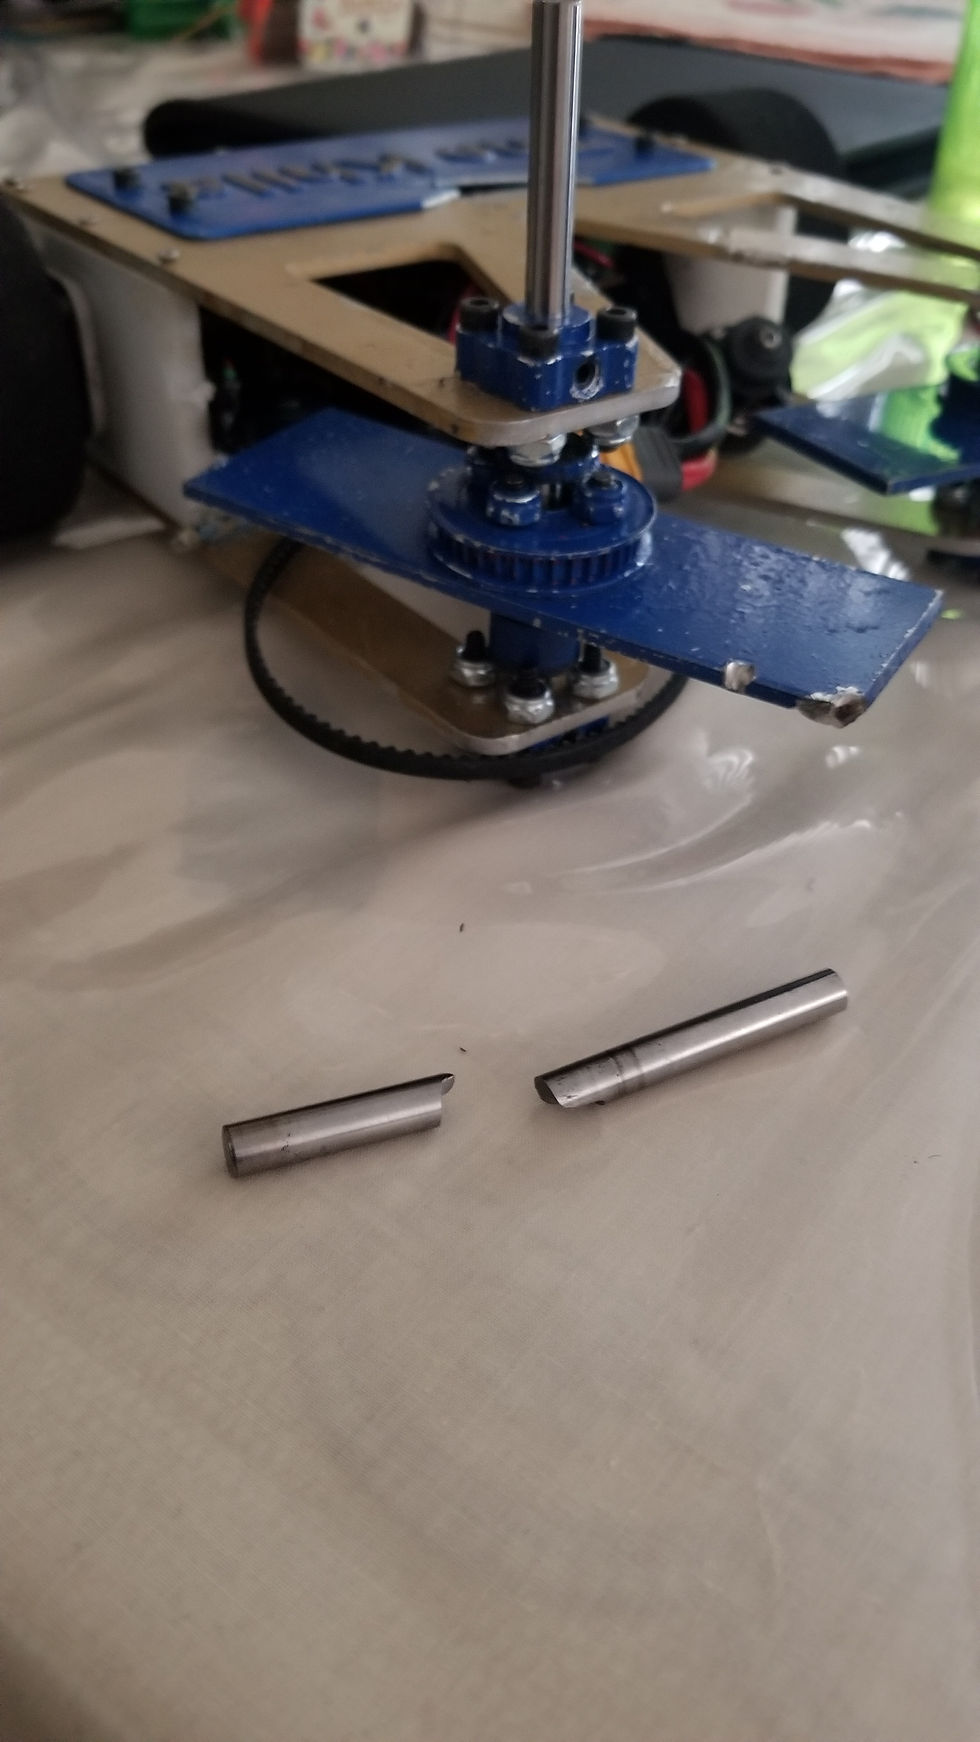
Below is a slideshow with some of the damage my robot sustained during the fights. Even though my weapon performance was subpar, I am impressed with how the bot's chassis held up despite taking many severe hits.


Highlight Video
Here is a short video of The Khila filmed and edited by my good friend Lorenzo Dela Cruz.